Roles
The Roles section in the System Configuration Tool lets Super Admins create and manage the user roles available in a RigBridge environment. Each role defines a named responsibility (like “Drilling Supervisor” or “Plan Owner”) that can later be assigned specific permissions.
Roles are the foundation for controlling access - permissions are assigned to roles, and roles are assigned to users.
How it looks
Roles can be found in the top navigation tab Roles. Each role belongs to a specific group (groups can be defined under the RigBridge Configurations) and can be linked to a set of permissions that control what users with that role can do.
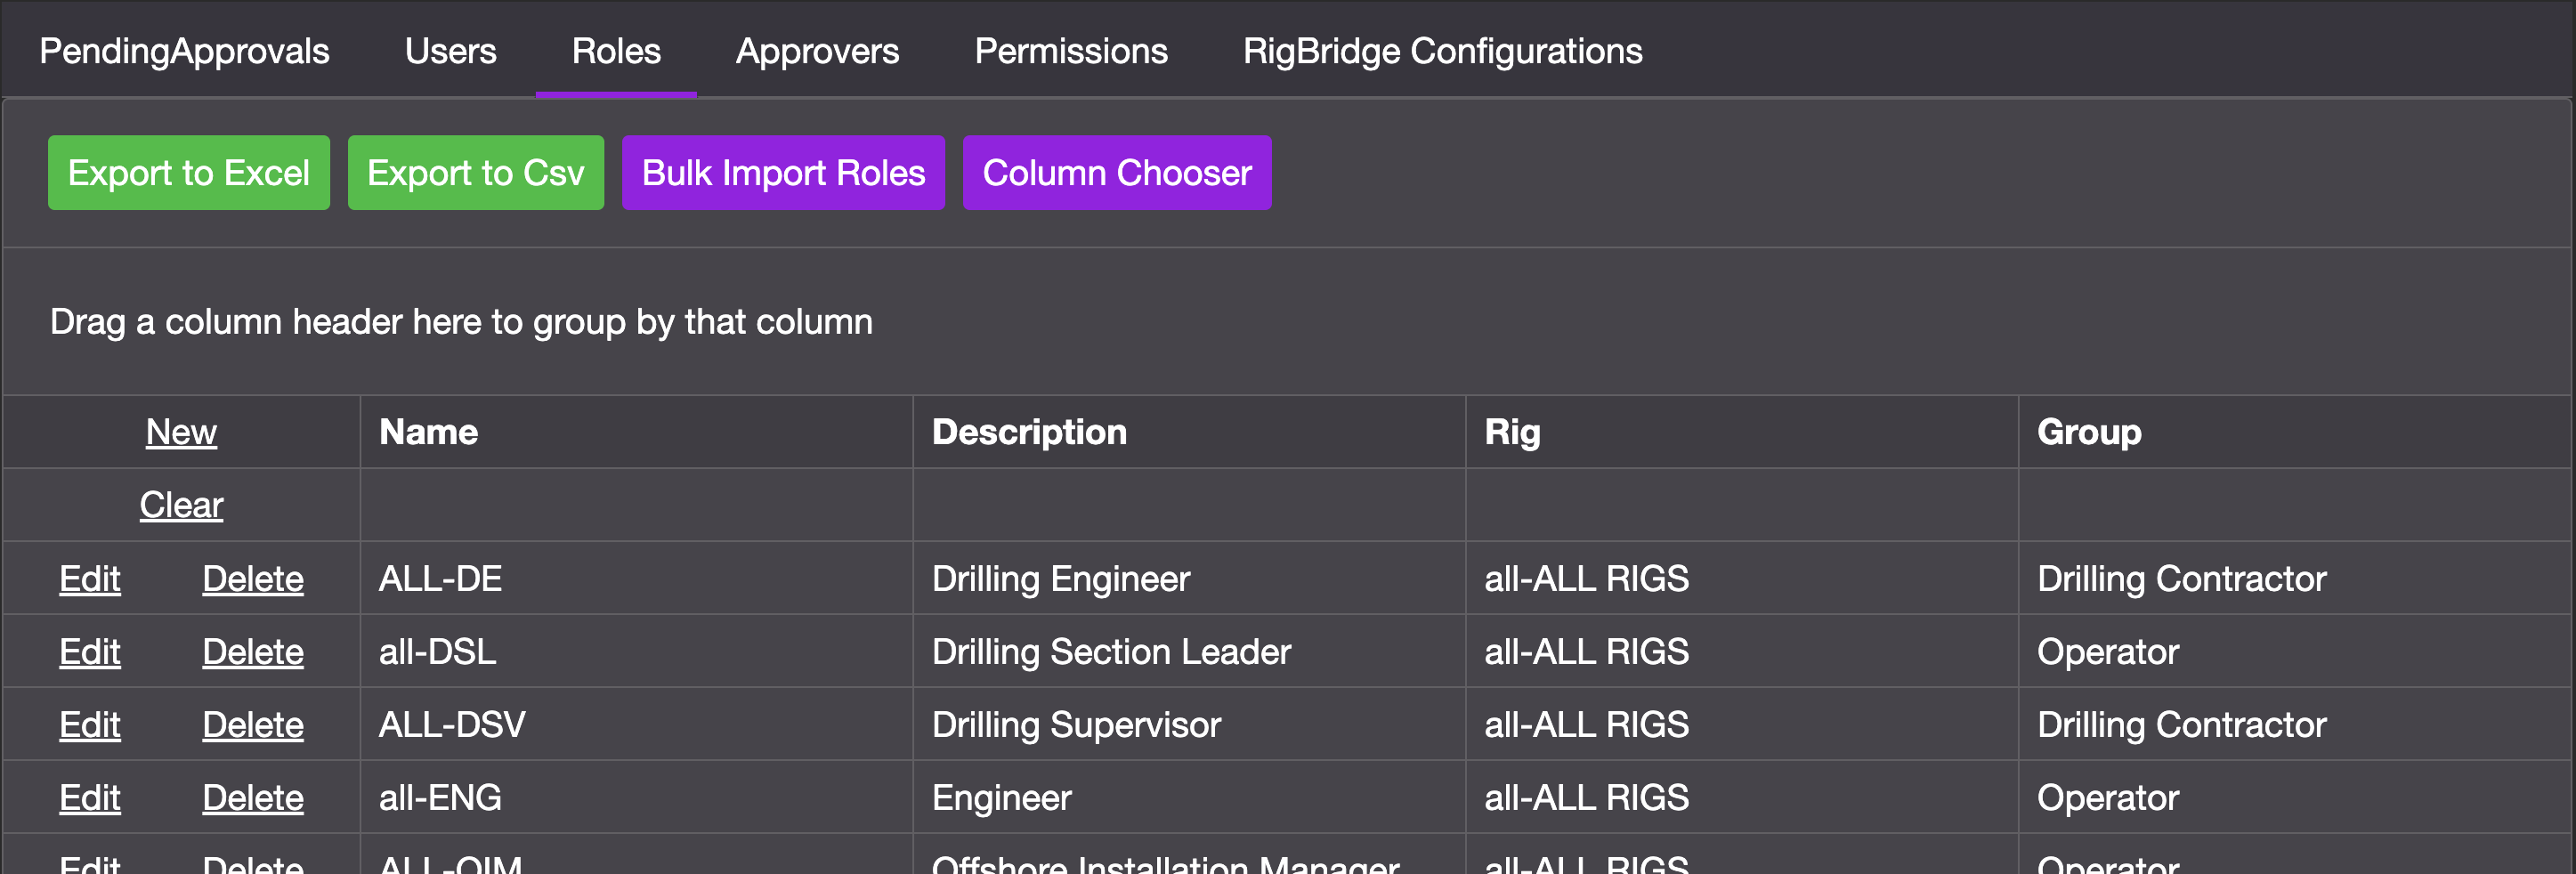
Key features of the roles list:
Each role has a name, description, rig and a group assignment.
Only Super Admins can create, edit, or delete roles.
Additional tools available in this view include:
Export to Excel/CSV: Download the current list of roles and their assigned permissions in either Excel or CSV format. This is useful for documentation, sharing, or preparing a template for bulk import.
Bulk import roles: Upload a CSV file to create or update multiple roles and their permissions at once - especially useful for syncing across environments.
Column chooser: Customize your view by selecting which roles columns are visible in the table.
Step-by-step instructions
Add a role
Go to the Roles tab: Navigate to the Roles section from the main top menu.
Click new: Select the New link located in the top-left corner of the table, just beside the Name column header.
Fill in role details: Enter the roles Name (e.g. DSV), Description (e.g. Drilling Supervisor), Rig (from a dropdown list), and Group (from a dropdown list).
Save the new role: Click Save to confirm. The new role is now listed under Roles and ready for permission assignment.
Edit a role
Go to the Roles tab: Navigate to the Roles section from the main top menu.
Locate the role: Use the search fields on each column, at the top of the table, to find the specific role by e.g. name or description.
Click edit on the role row: Click the link Edit in the left side of the row. This will open the editable fields for that role.
Update details: You can modify fields like Description and Group as needed. Name and Rig cannot be edited once the role has been created
Save changes: Click the button Save to apply the edits.
Delete a role
Go to the Roles tab: Navigate to the Roles section from the main top menu.
Locate the role: Use the search fields on each column, at the top of the table, to find the specific role by e.g. name or description.
Click delete on the role row: Click the link Delete in the left side of the row. Confirm you want to delete the role.
Caution
You must remove the role from all users before deletion is allowed.
Tips and tricks
Use clear naming conventions: Roles like Offshore Installation Manager or Drilling Section Leader make team setup easier and reduce confusion.
Minimize duplication: Review existing roles before adding new ones to avoid overlapping responsibilities.
Troubleshooting
Can't delete a role?: Make sure it isn’t assigned to any users. Reassign or remove the role on the users first.