Attachments
When you're working in the plan overview, you may need to add documentation or supporting files that apply to more than just a single plan. This could include schematics, BHA diagrams, or large technical tables used across multiple plans or sections. The attachments feature in the right sidebar lets you upload these files at a higher level and then link to them from each individual plan.
This feature is mainly used by engineers writing plans and helps avoid uploading the same file repeatedly. Instead, you can upload a file once, maintain it in a single place, and update it easily when needed.
How it looks
You can access attachments from the right sidebar by clicking the Attachment icon. After selecting the icon, the attachments view opens on the right side of your screen.
You can expand or collapse the view using the
 or
or  buttons to show more or less of the attachment view.
This attachment section will not appear under the Plan Editor.
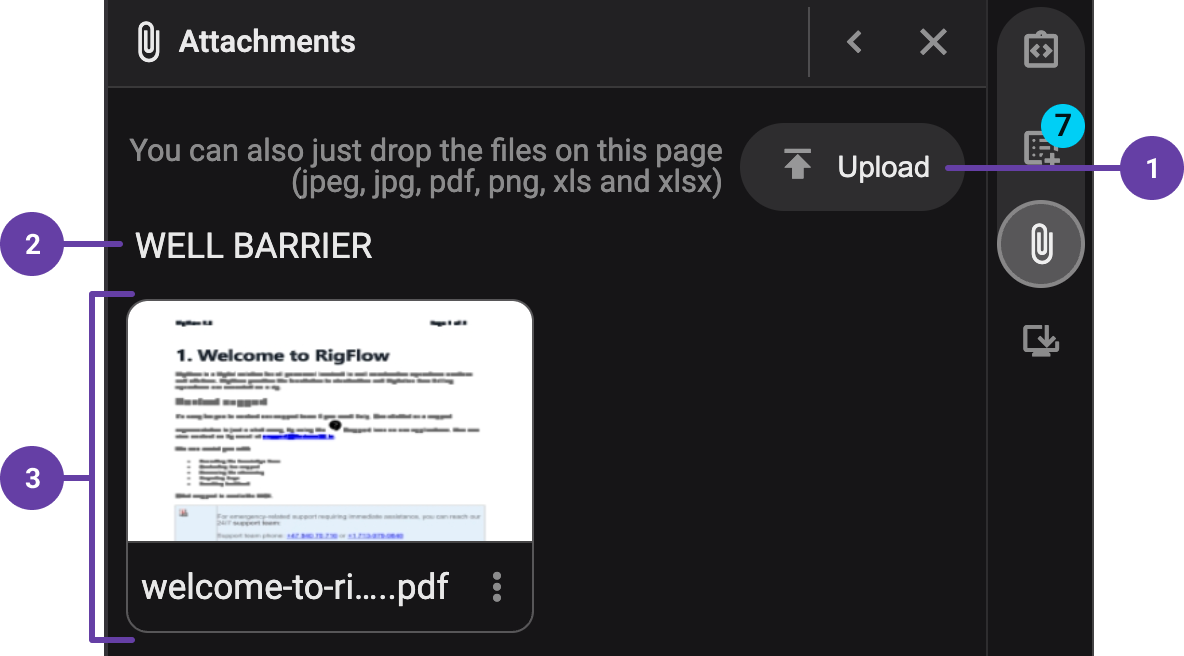
Inside the attachments view, you’ll see:
Upload button: This button lets you choose which group the attachment belongs to and upload a file, or create a new group.
Group title: Organizes your attachments into custom groups that you define.
Image preview with title: Displays a preview of the file, its title, and the number of times the file has been linked.
Step-by-step instructions
Add a new group
Start the upload process: Click the
 Upload button. If no files exist, you’ll only see
  Add new group under the Upload button.
Choose or create a group: Select an existing group or click
Add new group to create a new one.Enter the group title: A modal appears where you type the group name and press Enter to save.
Upload your file: After saving, your file explorer opens automatically so you can upload a file.
Edit a group
Select the group to edit: Hover your mouse over the group title you want to change. A colored line appears under the title.
Update the title: Click the group title, type the new name, and press Enter to save it.
Delete a group
To delete a group, it's required that no attachment is placed inside the group.
Remove all attachments in the group: If the group contains any files, delete them first so the group becomes empty.
Delete the group: Click the Delete button for the group. A confirmation modal appears—click Delete again to remove the group.
Add an attachment
Click Upload and select a group: Choose an existing group or create a new one if needed, under the
Upload button.Upload the file: Your file explorer opens, so you can select a file.
Download an attachment
Locate the file: Scroll to find the file you want.
Open file options: Click the
 More icon in the bottom-right corner of the file.
Download the file: Select the
 Download icon.
Rename an attachment
Locate the file: Scroll to find the file you want.
Open file options: Click the
More icon in the bottom-right corner of the file.Replace with a new file: Select the
 Replace icon and upload the new version. This overwrites the existing file.
Delete an attachment
Locate the file: Scroll to find the file you want.
Open file options: Click the
More icon in the bottom-right corner of the file.Delete the file: Select the
 Delete icon and Confirm in the modal. This action can’t be undone.
Tips and tricks
You can dock a file into the right sidebar. For more details, see the article Dock/Undock to the right sidebar.