Linking or un-link an attachment
By adding a link, you can directly reference an attachment within the plan. This allows those executing the plan to easily identify which attachment is being referred to in a particular step without having to open the attachment tab each time.
Within the list of attachments, you'll notice a  link icon whenever the attachment is connected to a specific part of the plan. Clicking on this icon will provide additional information about where the attachment is linked.

Note
Attachments have to be added to the plan before they can be linked to a plan.
How to link an attachment
There are different options to link an attachment from the text editor:
Linking attachments in text
Highlight the desired text: Navigate to the instructions and select the text where you want to link the attachment.
Open the link content icon: Go to the menu bar and click on the
 link content icon.
Click Insert attachment: From the menu, select
 Insert attachment.
Select an attachment: Choose the attachment you want to add from the drop-down menu.
The attachment is now linked to the text.
Uploading and linking an attachment
From the menu bar
Open the link content icon: Go to the menu bar and click on the
link content icon. You don't need to highlight or select any specific text.Click Upload attachment: Choose the
 Upload attachment option from the menu.
Select the attachment you want to link: From your library, select the attachment you want to link. You can change the name on the attachment tab.
The attachment is now linked to the text.
Tip
You can change the name of the link on the Attachments tab.
Copying and pasting
Copy an attachment: Select an attachment from your library and copy it using Ctrl+C or right-click copy.
Navigate to the instructions: Go to the text editor and select where you want to link the attachment.
Paste the attachment: You can use Ctrl+V or right-click paste.
Select a title for the attachment: A modal will appear and will allow you to set a title for the linked attachment. You can change the name on the Attachment tab.
Click paste: Link the attachment by clicking on the Paste button.
How to un-link an attachment
Click on the linked attachment within the instructions.

In the modal window, locate and click the
 Unlink attachment button at the bottom.
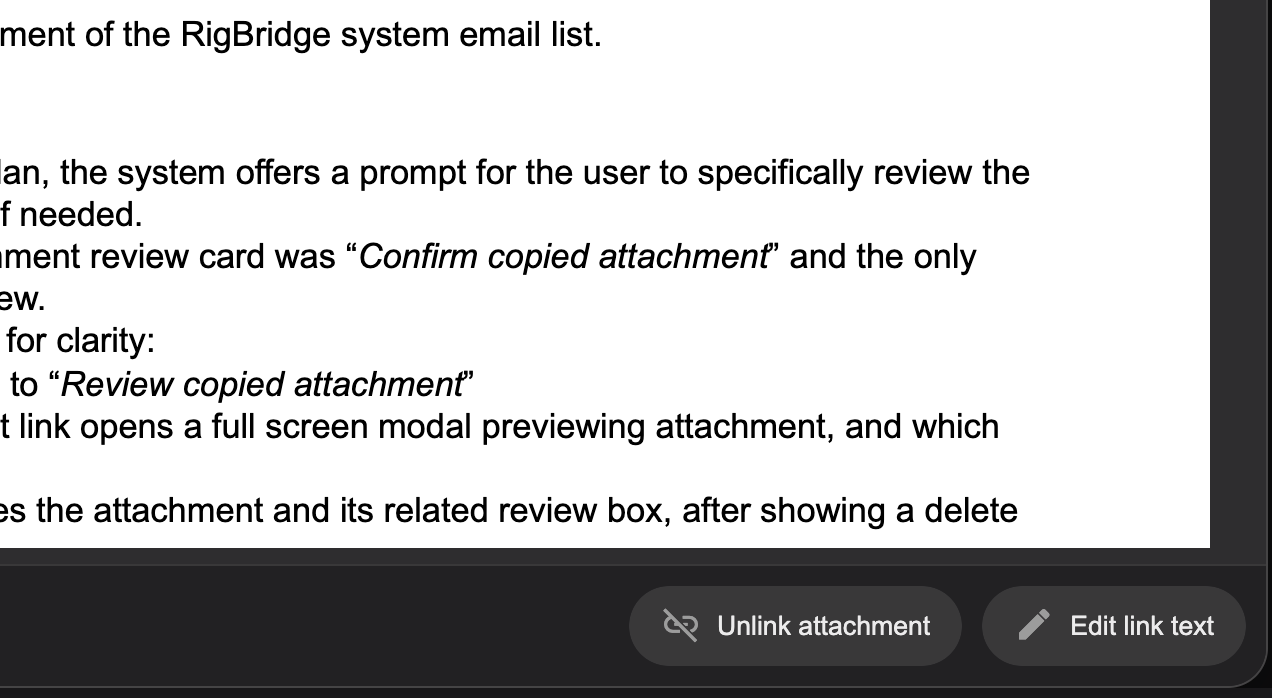
A warning message will appear; click Remove to confirm the removal of the link.
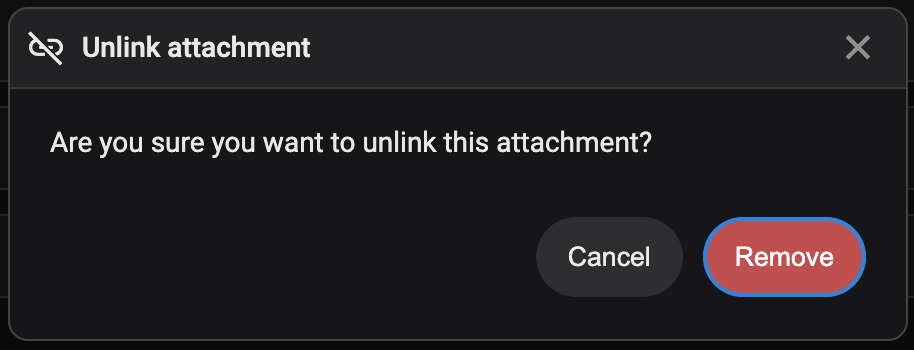
The attachment is now detached from the text.