Team Members
The  Team Members feature in RigBridge enables precise control over who can view, edit, and approve content in events, projects, or templates. It helps operators and contractors collaborate efficiently while ensuring that only the right people have access to sensitive planning data.
How it looks
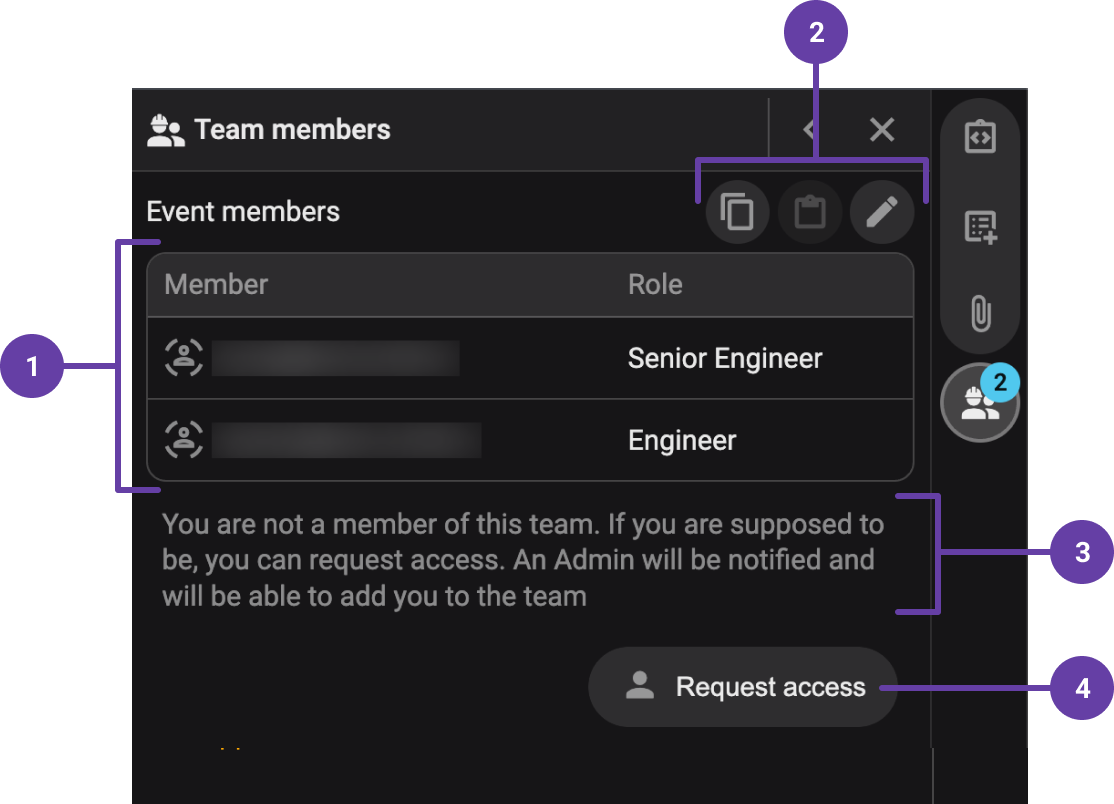
The Team Members interface is located in the Right sidebar of RigBridge. It includes:
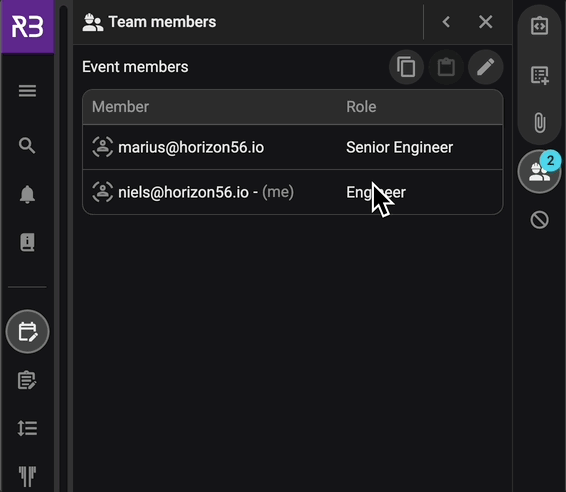
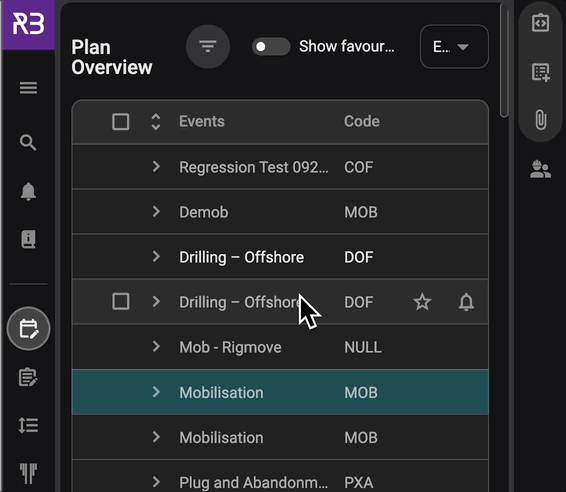
Team members list: Displays the current members of a team for a chosen project, well, or event, with their assigned roles.
Toolbar: The toolbar in the Team Members panel provides quick actions to manage the team.
 Copy: Allows you to copy an existing member list to use in another project or event.
 Paste: Enables you to paste a previously copied member list into the current project.
 Edit: Opens the team editor, allowing you to add or remove members, change roles and permissions, and modify other team-related settings.
Warning Messages: Displays warnings to ensure essential roles are assigned, such as alerts for missing approvers, Admin requirements, or validation errors during plan submission.
Request access: Button to request access, if a user is not on the team. See how it works on Request access.
Warning
Mandatory Admin: At least one Admin role must always be assigned.
Key features
Roles and permissions: Role-based permissions are assigned globally through the System Configuration Tool and not at the individual rig level.
Inheritance: Permissions assigned at the parent level (e.g., event or project) are automatically inherited by sub-levels such as phases or steps.
Notifications: Team members can receive notifications about content changes within their projects, events, and wells. It's possible to configure the notifications in the notification settings.
Step-by-step instructions
Add the first team member
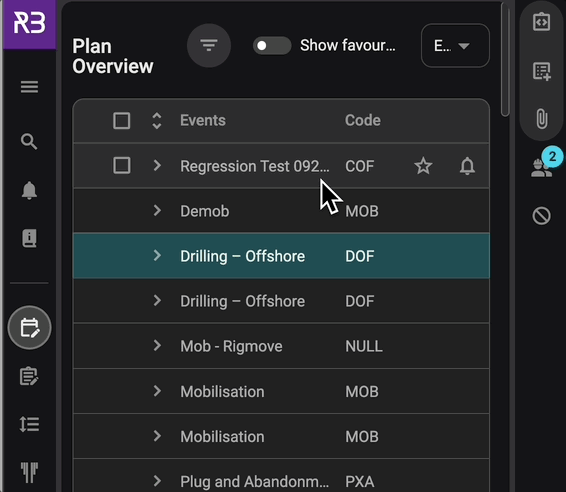
Open the event: Navigate to a project, well, or event.
Access the Team Members panel: Click the
Team Members icon in the Right sidebar.Start adding: Click Create team.
Search for the user: Type the user’s name or email address. You, as the user, will automatically be added to the team.
Assign a role: Assign a role (e.g. Engineer) from the dropdown (Only if more than one role is related to a user).
Add the user: Click the Add button next to the user and role to include the user in the list.
Complete the addition: Click Create to confirm and include the user(s) in the team.
Warning
RigBridge uses a hierarchy of levels for your project. The exact names of these levels can be different for each company, but they follow the same rule:
Top level (Level 1): The highest point in your project’s structure.
Middle level (Level 2): Sits below the top level.
Lowest level (Level 3): The most detailed level, often where specific plans are located.
When you add a team member at the top level, they will automatically appear in all levels below. This also means you cannot assign completely different teams to lower levels separately. Any change you make at one level—such as adding or removing a person—will apply to all connected levels underneath it.
Example: If you create a project called “Drilling Campaign 2025” and add Engineer A and Drilling Engineer B to the team, they’ll also appear in all wells and plans underneath. If you later remove Drilling Engineer B from a single plan, they will be removed from the entire project, not just that plan.
Add other team members
Open the event: Navigate to a project, well, or event.
Access the Team Members panel: Click the
Team Members icon in the Right sidebar.Start adding more users: Click the
 Edit icon in the Team Members panel.
Search for the user: Type the user’s name or email address.
Assign a role: Assign a role (e.g. Engineer) from the dropdown (Only if more than one role is related to a user).
Add the user: Click the Add button next to the user and role to include the user in the list.
Complete the addition: Click Set selected to confirm and include the user(s) in the team.
Warning
RigBridge uses a hierarchy of levels for your project. The exact names of these levels can be different for each company, but they follow the same rule:
Top level (Level 1): The highest point in your project’s structure.
Middle level (Level 2): Sits below the top level.
Lowest level (Level 3): The most detailed level, often where specific plans are located.
When you add a team member at the top level, they will automatically appear in all levels below. This also means you cannot assign completely different teams to lower levels separately. Any change you make at one level—such as adding or removing a person—will apply to all connected levels underneath it.
Example: If you create a project called “Drilling Campaign 2025” and add Engineer A and Drilling Engineer B to the team, they’ll also appear in all wells and plans underneath. If you later remove Drilling Engineer B from a single plan, they will be removed from the entire project, not just that plan.
Edit a team member
Open edit mode: Click the
Edit icon in the Team Members panel.Modify role: Change the user’s assigned role as needed.
Save changes: Click Set selected to confirm.
Remove a team member
Open edit mode: Click the
Edit icon in the Team Members panel.Find the user: Scroll to the team member you want to remove.
Remove the user: Click the
 Remove icon next to their name and role.
Save changes: Click Set selected to confirm.
Copy and paste a team
Copying team members in RigBridge allows you to quickly transfer a group of users to another project, well, event, phase, section, or plan. This feature is available to Members and Admins only.
Copy from existing team: Open a team in any location and click the
Copy icon.Navigate to the target location: Go to the location where the team should be duplicated.
Paste the team: Click the
Paste icon to insert the copied team members, including their roles.
Note
If there are no users added, you first have to click the  Create Team button before you can click the Paste icon.
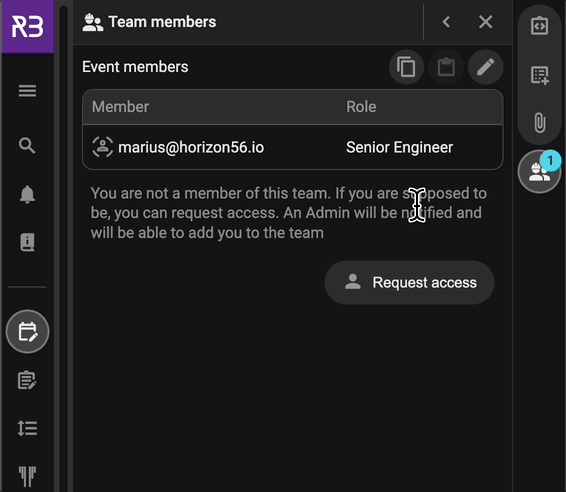
Request access

Initiate request: Users that is not on the team can click Request access in the Team Members panel.
Reason for requesting: Optionally, provide a reason for why you want to join this event, then click the Request access button. If you have multiple roles, select the role you want to use for this request.
Notification sent: A request is automatically sent to the event’s admin.
Track request: The requesting user will see a “pending” status until it is approved or denied.
Role handling
One role only: If a user has a single role, it is automatically assigned.
Multiple roles available: If multiple roles exist, the team lead must choose one during team addition.
Rig-specific roles: These can only be assigned for events under the specified rig.
Disabled users: Users removed from the system remain listed in the team with a disabled status.
Key differences between operator and third-party access
Operator Employees: Access all rigs by default; do not need to be on the team to review content.
Third-Party Users: Must be assigned to specific rigs and added to the team to see or edit event content. Otherwise, they only see event titles.
Tips and tricks
Approval role check: Ensure an approver is added to the team to avoid validation errors when submitting plans for approval.
Bulk add members: Paste a list of team members to populate the team quickly.
Troubleshooting
Missing approver warning: If no approver is added, you will see a warning when submitting a plan for approval. Add a user with the necessary role to resolve this.
Access denied: If a user cannot view or edit a project, ensure their role and permissions are correctly assigned in the Team Members panel.
Cannot remove last Admin: RigBridge requires at least one Admin per team. Add a new Admin before removing the existing one.
How to add permissions
Permissions in RigBridge are assigned to roles via the System Configuration Tool. These permissions define what users can do when added to a team, such as editing content, reviewing plans, or approving steps.
Tip
Only roles with the permission Can manage teams enabled in the System Configuration Tool can grant a Team Lead role in the Team Members.
Read more about how to assign or modify these permissions in the System Configuration Tool Permissions.