Text Editor
For users with editing privileges, the system offers options to incorporate details and information into the plan.
Within RigBridge, users have access to a text editor designed to facilitate the addition of descriptive information to elements like Instructions under the tab Operations. This editor provides basic text formatting options, ensuring clarity and readability of all text when the plan is published into RigFlow.
Our text editor resembles Microsoft Word and provides a user-friendly toolbar equipped with essential tools. RigBridge makes it easy for everyone using the text editor to stay in sync with real-time updates. So any changes made by one user are instantly shared with all others, just like in online text editors such as Google Docs or Microsoft Word.
Note
The text editor automatically saves your changes, so you don't need to worry about saving manually.
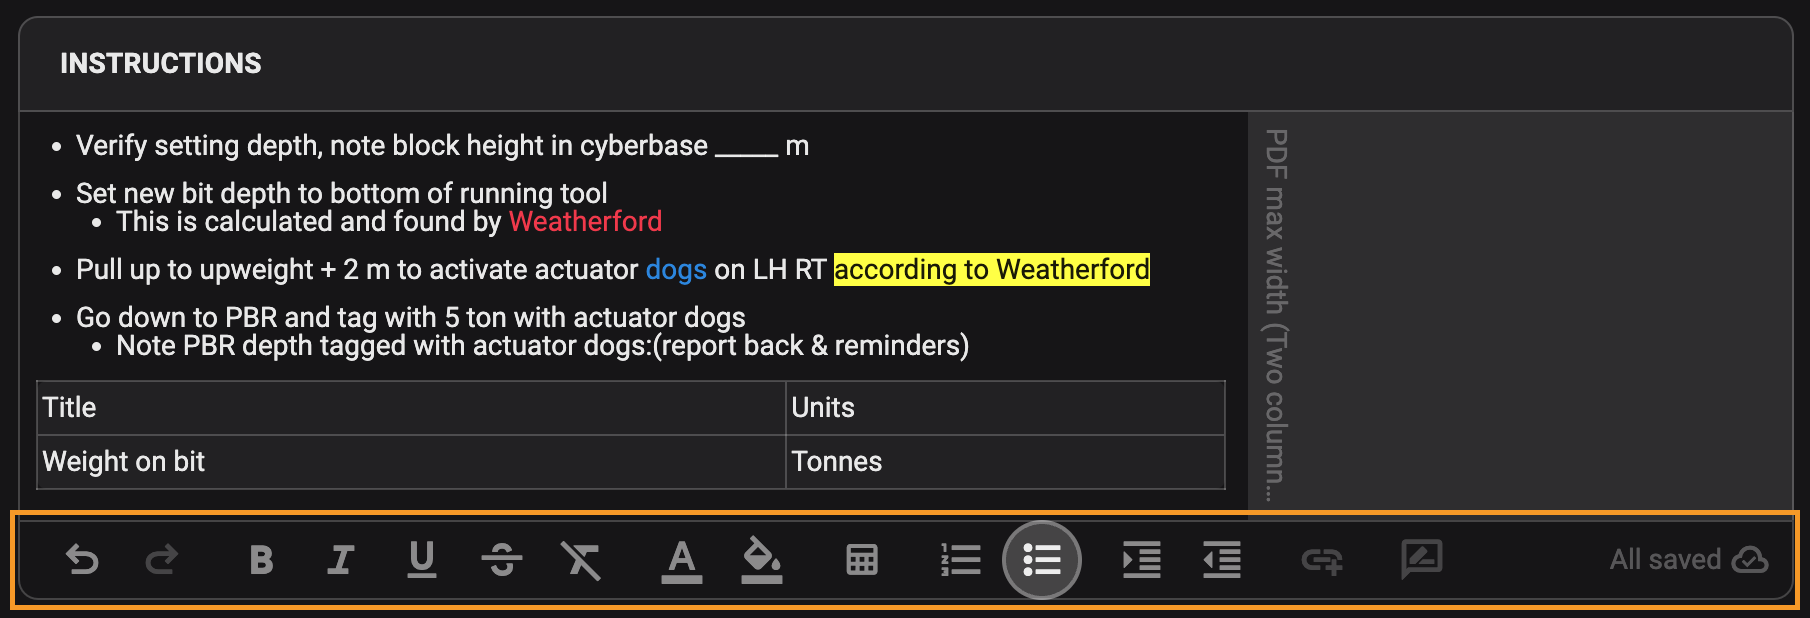
Edit history: Containing undo and redo functionality, allowing users to navigate between changes
Text styling: Contains the options to set text to
 bold,
bold,  italic,
  underlined,
  strikethrough,
  remove text style,
  format text colouring, and
  highlight text.
Table edit: Contains the options to
 create or delete a table and add cells, rows or columns.
Bullets and numbering: Create lists with
 bullets or
  numbering.
Paragraph Formatting: Containing the options to
 increase or
  decrease indent.
Link attachment: Contains the options to
 Link content. Here you can:
 Insert attachment to the text that can be uploaded within the Attachments tab in the Plan Editor. You can read more about it on How to link or un-link an attachment inside the editor.
 Insert property to the the text, that is dynamic content inserted from the References tab in the Plan Editor. Read more about References.
Reviews: Contains the option to
 add review comments to the text before the plan is approved. You can read more about it on Reviews.
Insights: Contains the option to
 add insight comments to the text after the plan is completed. You can read more about it on Insights.
Copying/Pasting text into the text editor
Copying and pasting text is also supported. When pasting text, supported formatting from RigBridge will be preserved. If the user tries to paste text with unsupported formatting, it will automatically revert to the default text colour, which is black.
There are no limitations in characters written
The text editor does not impose a character limit, yet users should be mindful of the volume of information they input. Text can be organized into bullet point lists or numbered lists. As a best practice, it is advisable to create detailed tool procedures using numbered lists.
Spell checking
The spell-check feature utilizes your browser's built-in spell-check. To activate it, adjust your browser settings to match your preferences.
You can link or un-link an attachment to your instruction directly from the text editor. Let's take a look
How to link an attachment
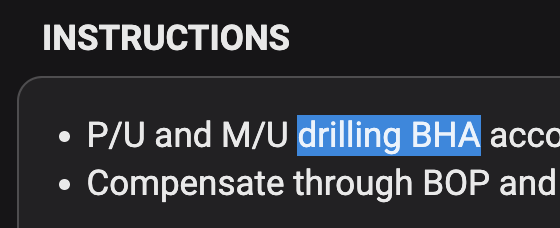
Highlight the desired text in the instructions.
Click on the
 link content icon.
Choose
Insert attachment from the menu.Select the attachment you want to add from the drop-down menu.
The attachment is now linked to the text.
How to un-link an attachment
Click on the linked attachment within the instructions.

In the modal window, locate and click the
 Unlink attachment button at the bottom.
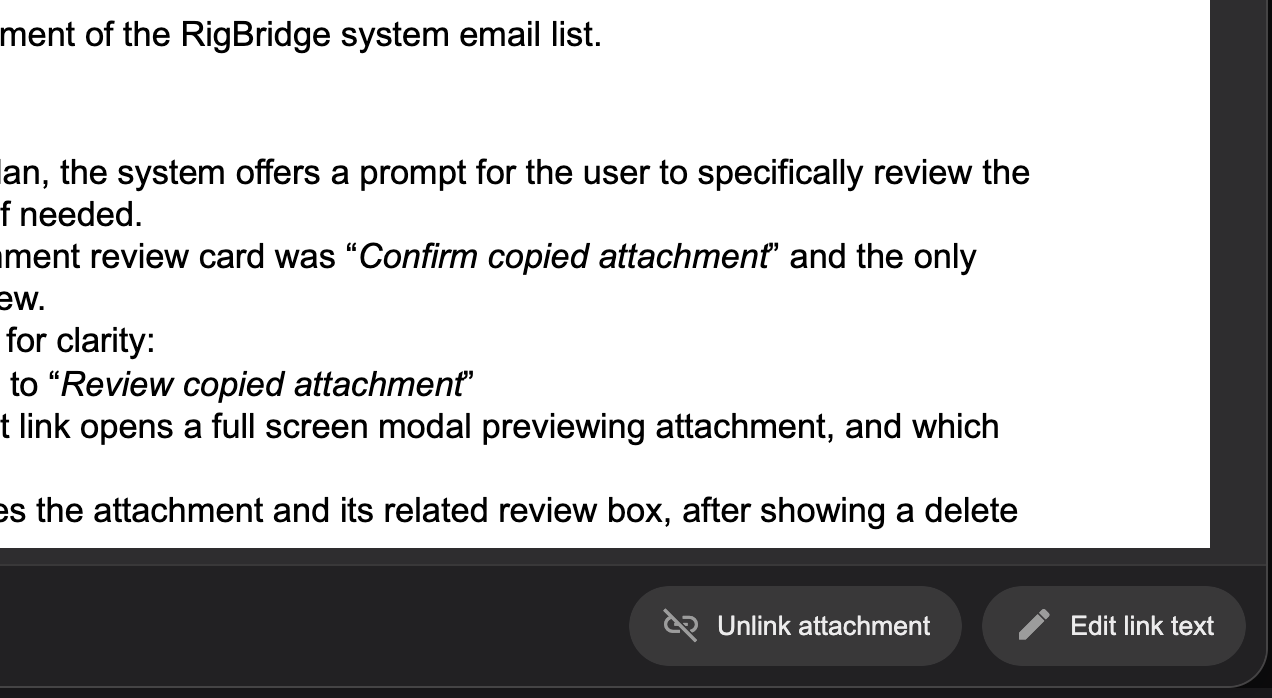
A warning message will appear; click Remove to confirm the removal of the link.
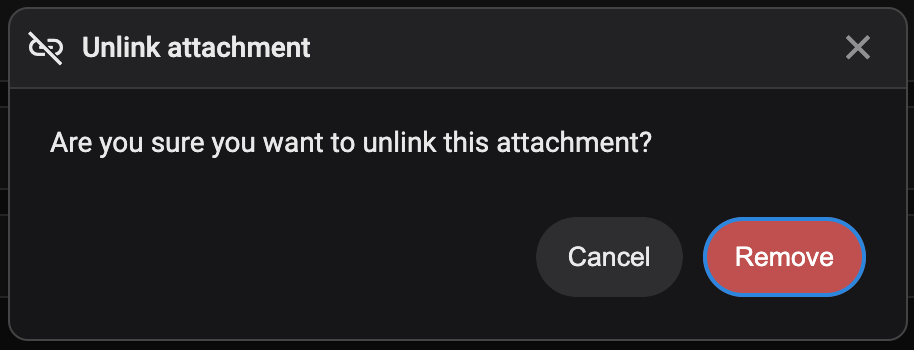
The attachment is now detached from the text.
When importing content from other sources, unwanted text formatting might appear in RigBridge plans. While RigBridge automatically removes much of this formatting when importing content from programs like Word or Excel, occasional manual adjustments may be necessary.
Here's how to remove any remaining text formatting in our Text editor:
Select the text from which you want to remove formatting by clicking and dragging over the text to highlight it.
Click on the
Clear formatting icon.
Now, your text should be free of any formatting.
Tip
Another method to clear text formatting when pasting text, for example, in instructions, is by using the key combination [Ctrl]+[Shift]+[V] in Windows or [Shift]+[Cmd]+[V] in MacOS. This action will also remove any formatting from the copied text.
Smart reviews are utilized for commenting on and reviewing plans prior to their approval.
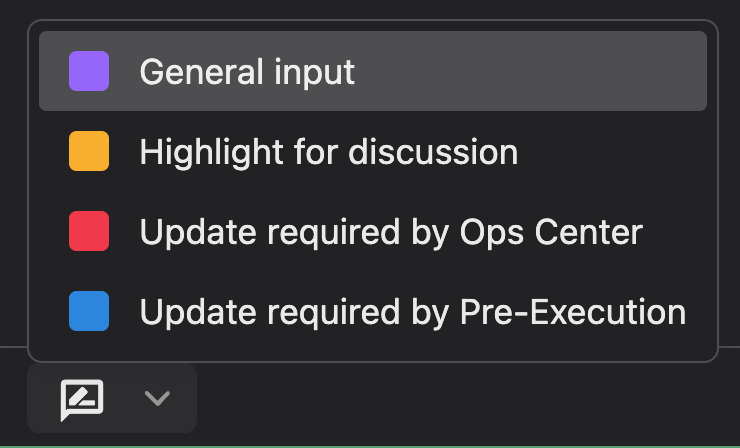
To add a comment, select any aspect of the plan and click on the Add review comment button in the toolbar. Please choose the appropriate comment category. Once you submit the comment, it will be visible in the right-side panel, with a time and date stamp and the username of the person who made it.
How to add a review to a plan
Select relevant text in the plan to which you want to add a review.
Click on the
Review icon.Choose a category that relates to what you wish to add (could be configured differently for your company).
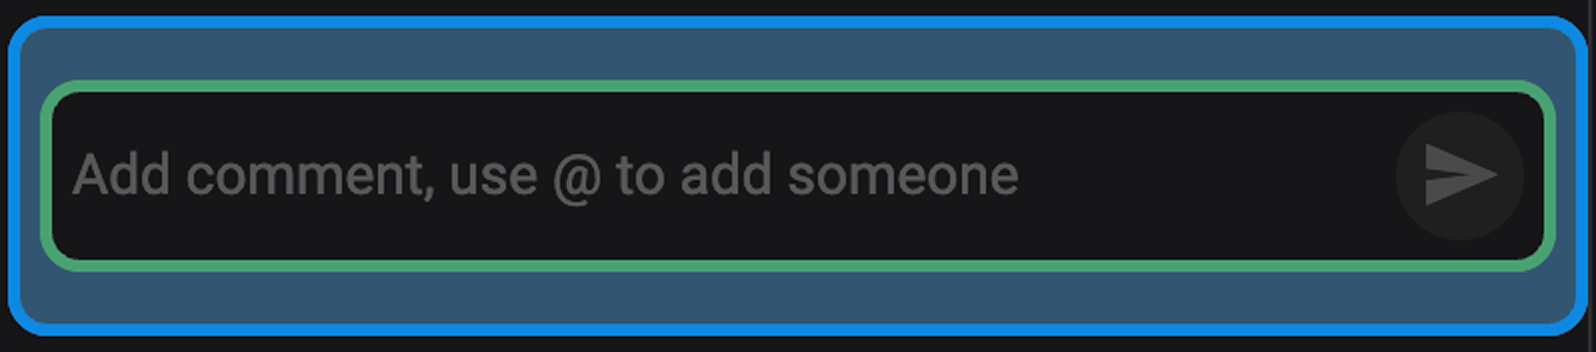
Then, add text to your review comment in the text box in the right side panel.

Click [Enter] to save. To create a new text line, use [Shift] + [Enter].
Tip
You can direct a review comment to a specific person by typing in their email address. Upon clicking send, they will receive an email with the review comment.
Once your plan is approved, you're free to incorporate insights throughout various sections, including but not limited to instructions, parallel activities, attachments, and additional information.
Add an insight: Select relevant text in the plan to which you want to add an insight and click on the
 Insights icon.
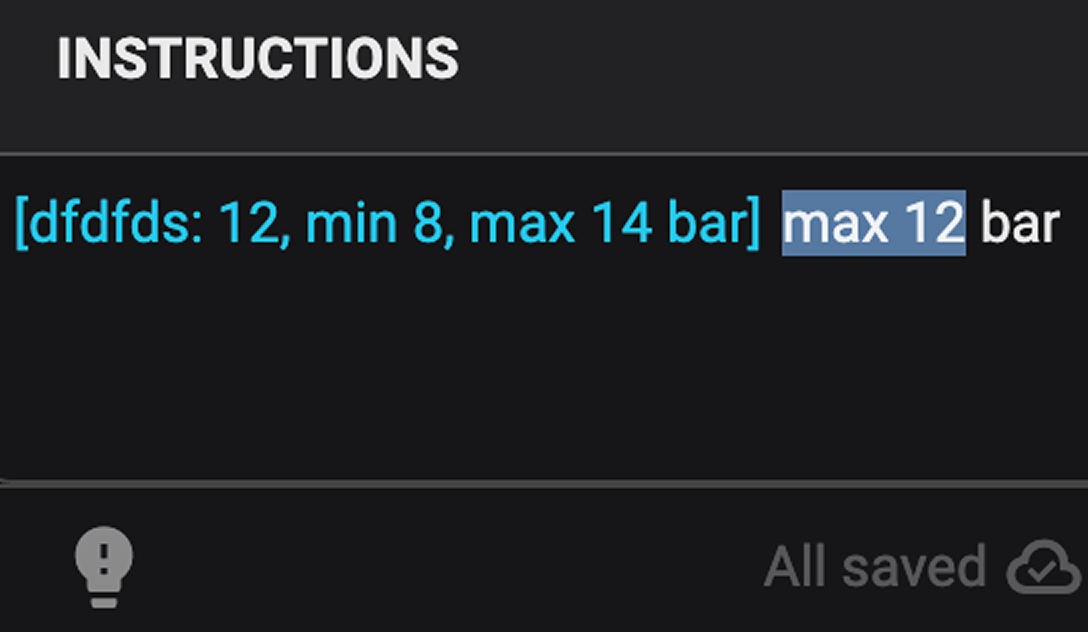
Assign a category to the insight: Choose a category that relates to what you wish to add (could be configured differently for your company).

Add a comment: Add text to your insight in the text box in the Right sidebar panel.