Reviews
RigBridge offers a Smart Review feature that allows users to collaborate while creating or reviewing a plan.
Smart reviews are utilized for commenting on and reviewing plans prior to their approval.
To add a comment, select any aspect of the plan and click on the Add review comment button in the toolbar. Please choose the appropriate comment category. Once you submit the comment, it will be visible in the right-side panel, with a time and date stamp and the username of the person who made it.
How to add a review to a plan
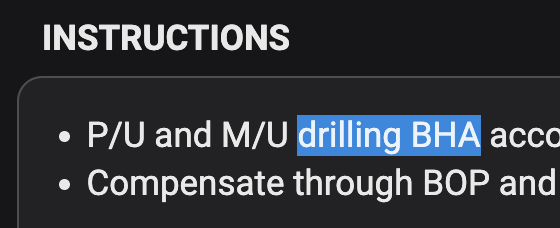
Select relevant text in the plan to which you want to add a review.
Click on the
 Review icon.
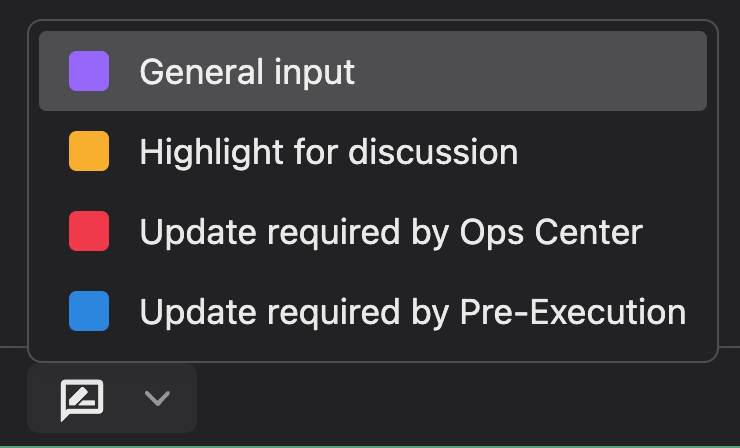
Choose a category that relates to what you wish to add (could be configured differently for your company).
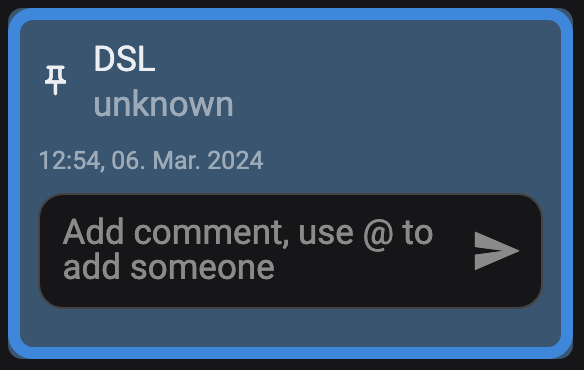
Then, add text to your review comment in the text box in the right side panel.
Save by clicking the
 Send icon.
Tip
You can direct a review comment to a specific person by typing in their email address. Upon clicking send, they will receive an email with the review comment.
If you wish to share a review with specific individuals using our platform, you have the option to do so. This can be done either when adding a new review or on an existing one.
How to send a review to other user(s)
Select the text you want to highlight and add a new review, or choose an existing review from the right-side panel.
In the comment field, type @ followed by the email address of the person you want to send it to, e.g. @john@doe.com
If the email address has not been inserted before, an Add button will appear. Click on it to add the email to your mailing list. If the email is already in your list, a dropdown menu will display all previous emails used.
Once the email address has been added to the comment, it will turn blue. Click the
Send icon to send it.Upon sending, a notification email will be sent to the user, alerting them of an action item in the plan.
Tip
It is also possible to assign the review or comment to multiple users if needed.
Occasionally, the category chosen for your reviews may change later on, or you might have accidentally selected the wrong category. If this occurs, feel free to choose another without any issue.
Locate the desired review for modification in the panel on the right-hand side.
Click on the
 Change type icon.
Choose a new category type.
The box's border colour will update to reflect the newly selected category type.
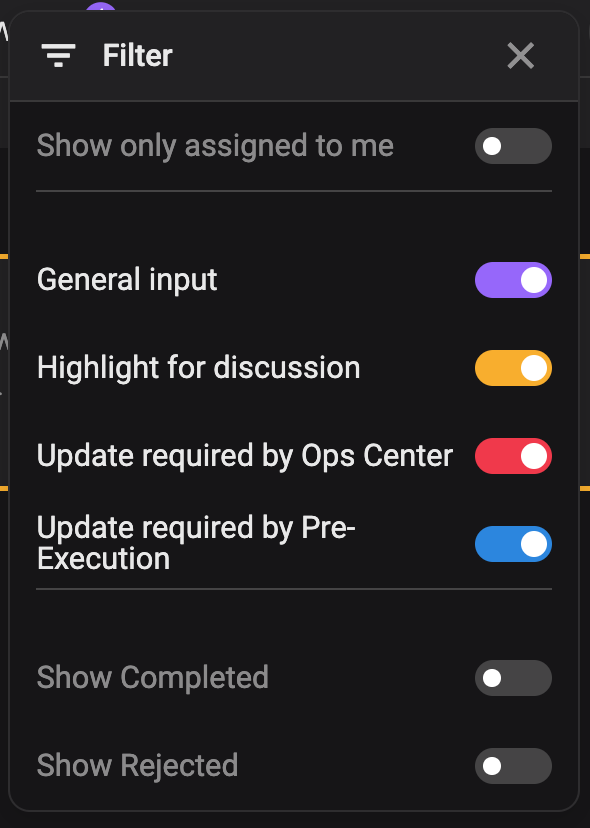
To manage numerous reviews in a plan, use the filter option. You can filter by:
Assigned reviews to you
Category types
Completed reviews
Rejected reviews
How to use the filter
Open
Reviews section in the right-side panel.Click the
 Filter icon.
Choose your filter preferences.
Close the menu to view only the filtered reviews.
Sometimes, you find a review crucial for future plans. This functionality is useful when you wish to copy the plan along with selected reviews. During the After Actions Review (AAR), you can see which reviews are relevant and determine whether you want to include them in a copied plan or not. This can be achieved by pinning a review to the plan.
How to pin a review
Locate the review you wish to pin within the Right sidebar.
Select the
 Options icon on the insight.
Click on the
 Pin icon.
The review has been pinned and will be available on the copied plan.
How to un-pin a review
Locate the review you wish to un-pin within the Right sidebar.
Select the
Options icon on the insight.Click on the
 Unpin icon.
The review has been pinned and will NOT be available on the copied plan.
Occasionally, a review may become irrelevant or unnecessary, in which case it can be removed from the plan.
How delete a review
Locate the review you wish to delete within the Right sidebar.
Select the
Options icon on the review.Click on the
 Delete icon.
A modal dialogue box will appear, asking whether you wish to delete the file. Please note that this action cannot be undone.
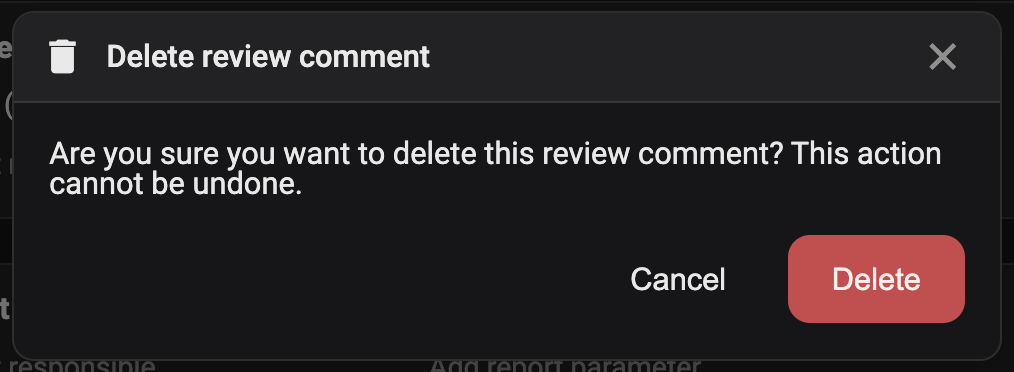
Upon clicking Delete, the review will be permanently removed.
Warning
A review can be deleted after a specified number of hours from its creation. The duration before it becomes locked for deletion is determined by the RigBridge setup.