Plan library
The Plan Library can be found in the left side panel, and contains your plans, grouped into 'Fields' or 'Rigs' at the top, followed by categories such as 'Well,' 'Event,' and 'Phase' in a systematically arranged hierarchy. These categories may vary depending on your company.
Think of the Plan library like folders on your computer for organizing your files. You can also assign a coding structure to these levels.
Warning
Please note that you are unable to add a new rigs and fields on your own. If you wish to do so, please contact our support team, who will assist you promptly.
Note
If you are unable to add a well, it may be because you only have access to one rig. In such cases, you must request permission for access to all rigs from your supervisor, or alternatively, ask another individual who has access to all rigs to perform the action on your behalf.
Explore the Plan library user interface
The following overview shows the Plan library tools, The switch between Rigs or Fields view, and the tree structure in the user interface depicted below:
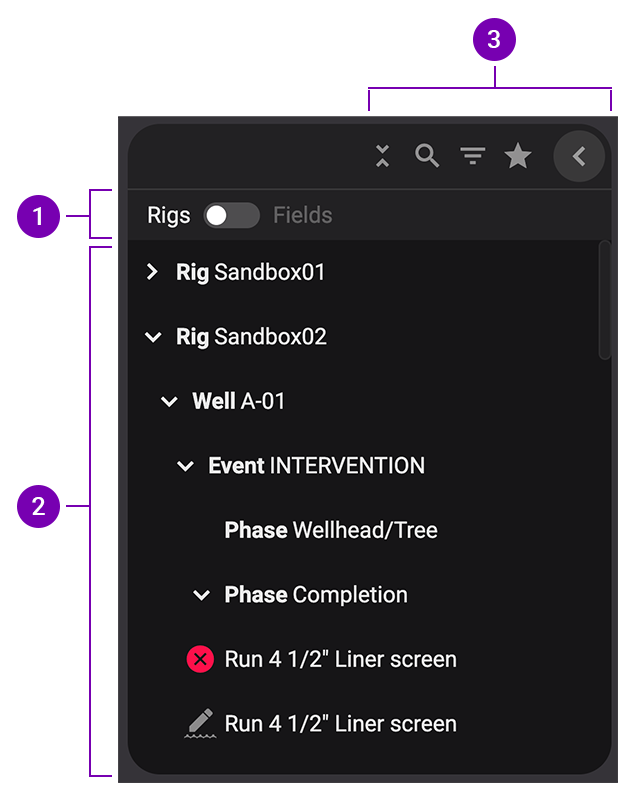
Top level navigation: Option to switch between Rig or Field. For more information, refer to Top level navigation
Plan hierarchy: Shows the plans, systematically arranged in a hierarchy. For more information, refer to Plan hierarchy
Plan library tools: Access main menu, Support, Planning mode, and Execution mode. For more information, refer to Main navigation.
The top level navigation offers you the choice to switch between Rig and Field. The Fields feature is especially beneficial for operators as it enables them to allocate multiple rigs to a particular field, ensuring comprehensive access to the entire well history over time.
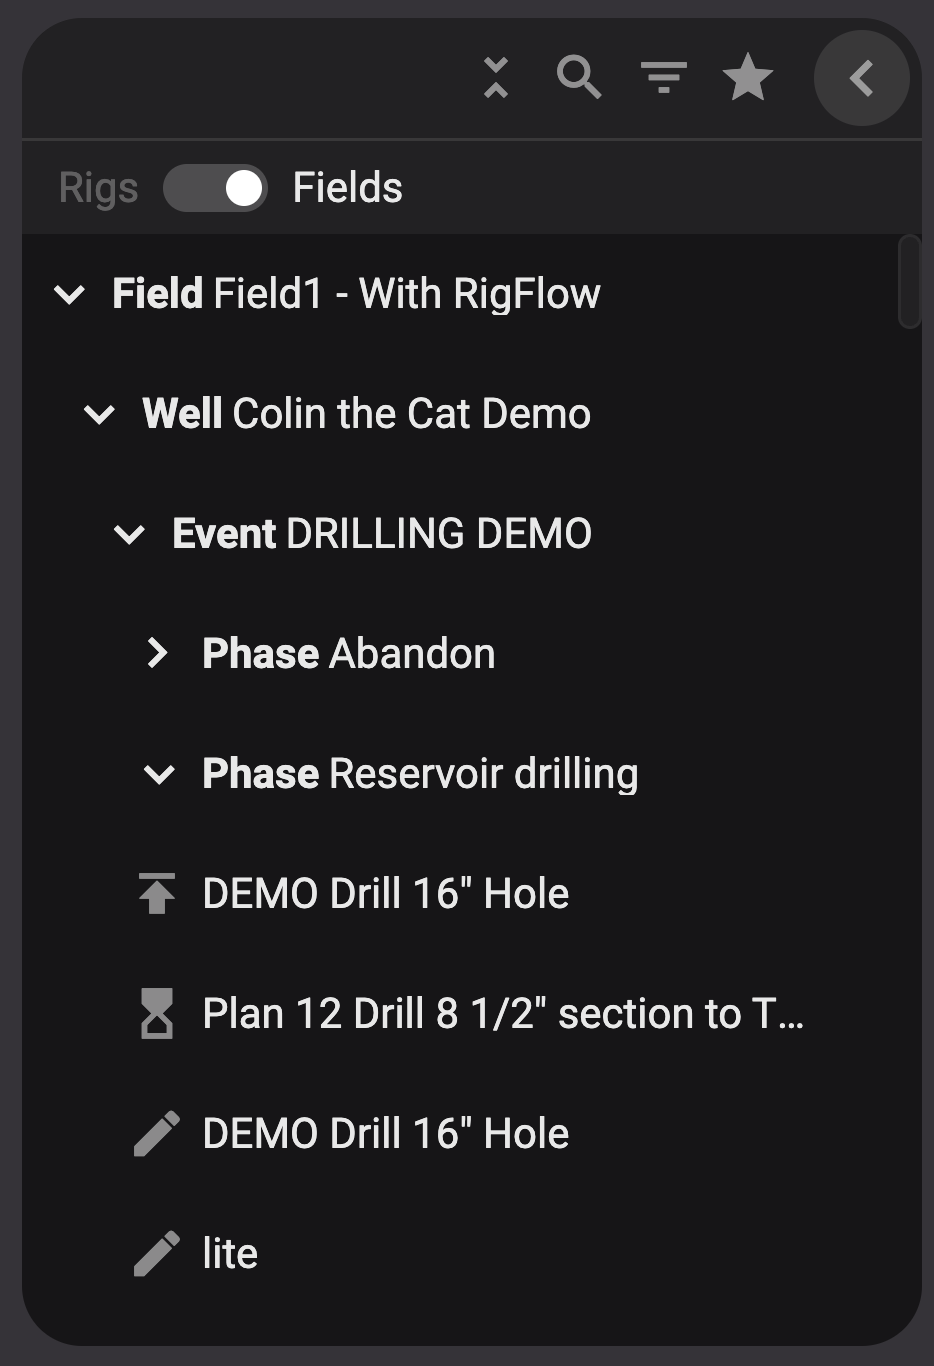
Visual representation of Rigs vs. Fields in the Plan Library.
Note
If there is several rigs that have been operating in a well, you need to look at the well from Fields to see the full list of events in the well. Rigs view will only show events made by that particular rig in the well.
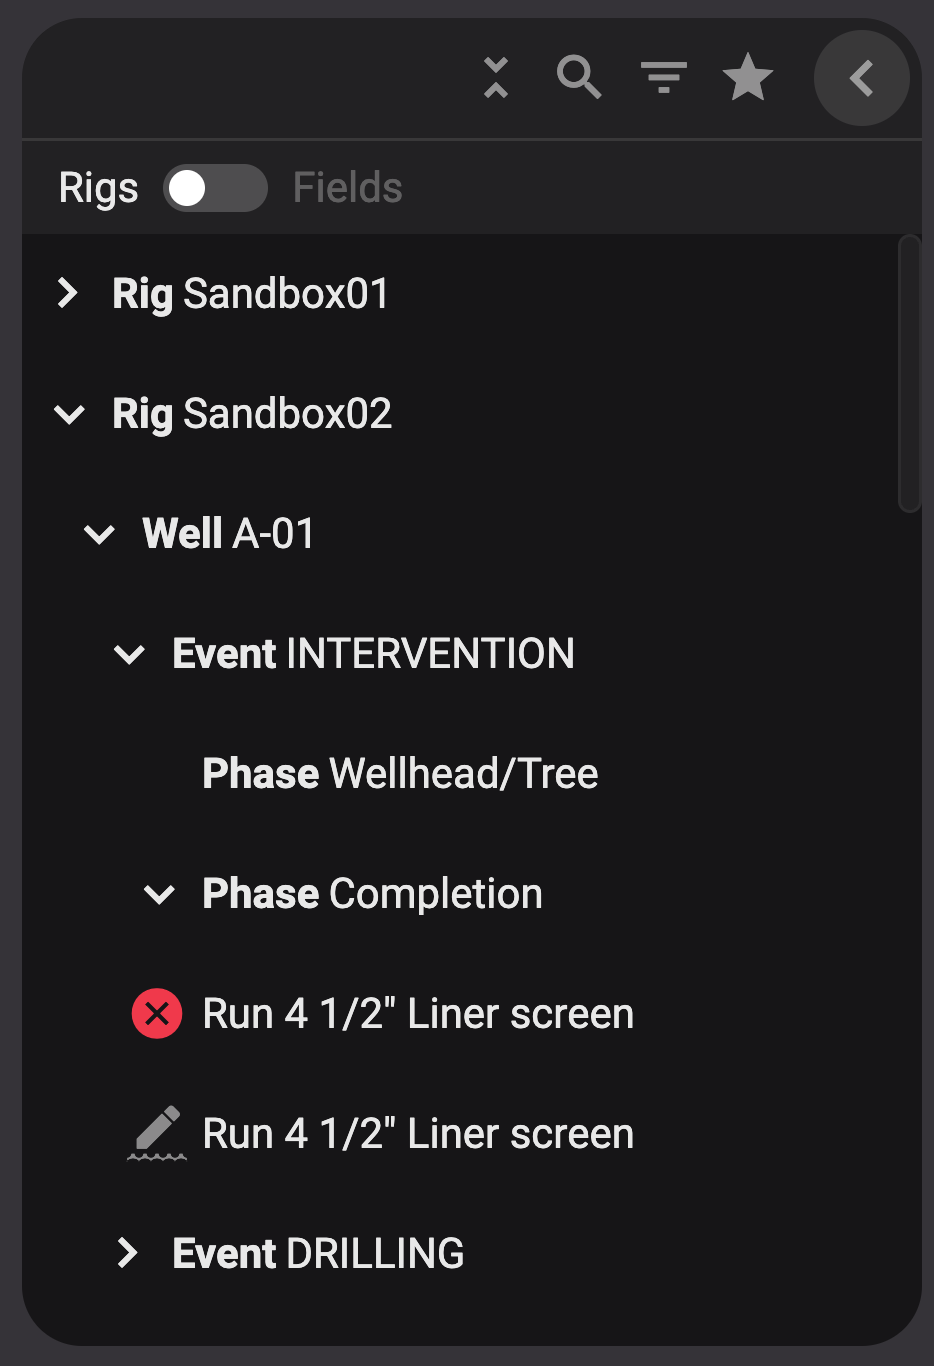
Within the Well structure, rigs can be assigned to individual events, as illustrated below. When creating drilling plans for a specific well, events can be left 'Unassigned' if the choice of a particular rig is yet to be determined.
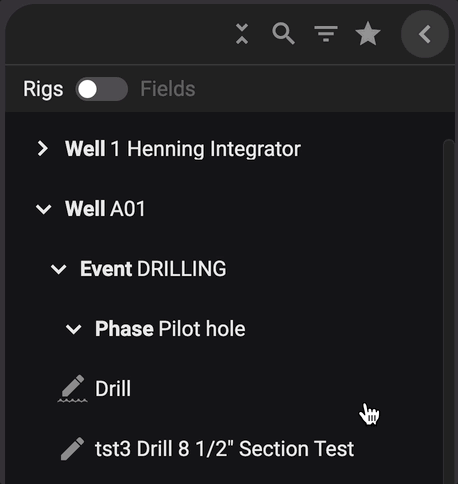
The plans are systematically arranged in a hierarchy. You can categorize it further into Well, Event, and Phase. These levels function as organizational placeholders.
When the user selects either the placeholder Well, Event, or Phase, a list view is presented in the main window, displaying the content within the chosen sub-level from the Plan Library.
To simplify the process of finding content in the Plan Library, there are several tools available:
 Collapse all icon: Clicking this collapses all items in the plan hierarchy, will hide all open sub-levels and show only the Fields or the Well.
 Search icon: Use this to search for plans within the plan hierarchy.
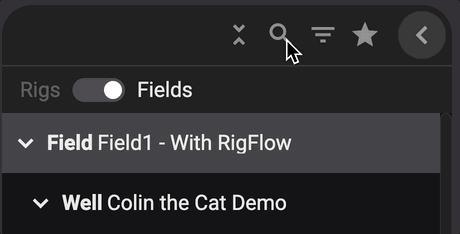
 Filter icon: Filter plans by status or workgroups.
 Show favorites icon: This tool allows you to view your favorite plans. Note that you can only use this tool if you have selected favorite plans. For more information, refer to Add or remove a favorite in Plan library
Locate the plan you want to mark as a favorite.
Click the
 Add to favorites icon (star) next to the plan title.
The
favorite icon will appear in a solid color to indicate that it's active. Click on Remove from favorites to remove it.The plan will now appear in the Show Favorites section of the Plan Library tools.
Note
Favorites can only be added or removed on a plan.