Insights
Insights, also known as After Action Review (AAR), are valuable lessons that users can learn from while performing a specific activity or step in RigFlow or directly within RigBridge.
Once a plan is approved, it becomes accessible for viewing and adding insights in both RigFlow for offshore users and RigBridge users. If a plan is copied, it may contain insights from previous operations associated with the plan template, provided the insights were pinned to the plan.
Step-by-step instructions
Once your plan is approved, you're free to incorporate insights throughout various sections, including but not limited to instructions, parallel activities, attachments, and additional information.
Add an insight: Select relevant text in the plan to which you want to add an insight and click on the
 Insights icon.
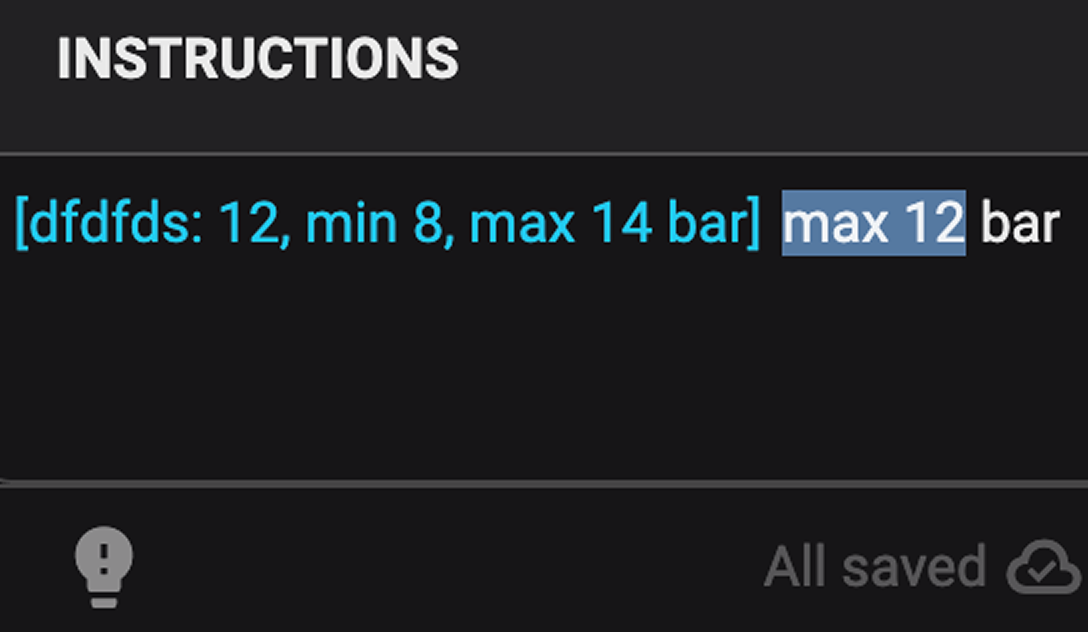
Assign a category to the insight: Choose a category that relates to what you wish to add (could be configured differently for your company).

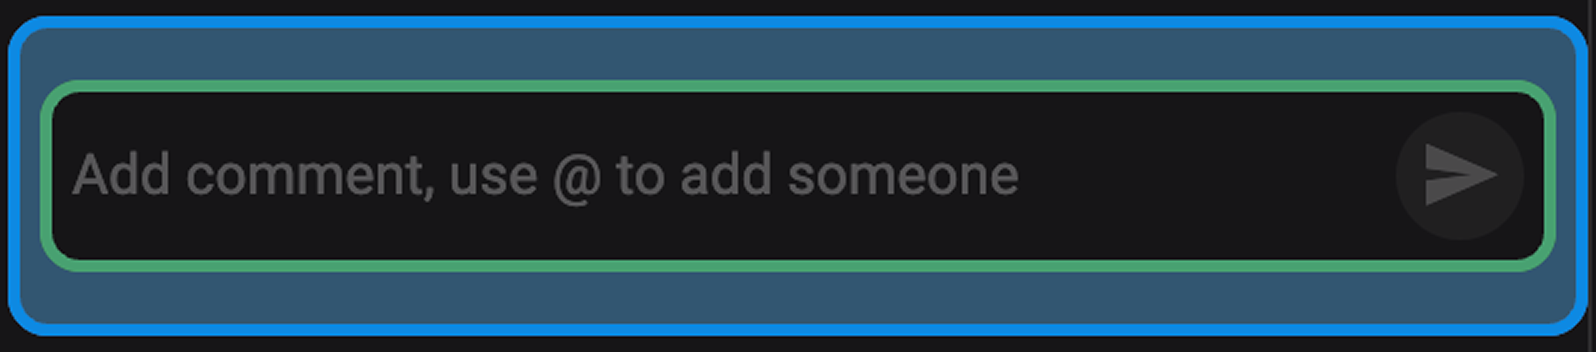
Add a comment: Add text to your insight in the text box in the Right sidebar panel.
If you wish to share an insight with specific individuals using our platform, you have the option to do so. This can be done either when adding a new insight or on an existing one.
Choose an insight: Start by selecting the text you want to highlight and add a new insight, or choose an existing insight from the Right sidebar.
Select the recipient: In the comment field, type
@followed by the email address of the person you want to send the insight to; for example,@john@doe.com.Add a new email address: If the email address has not been inserted before, keep typing to add a new email. Click on Add this address to add the email to your mailing list. If the email is already in your list, a dropdown menu will display all previous emails that have been used.
Send the insight: Once the email address has been added to the comment, it will turn blue. Click the
 icon to share the insight. The tagged user will receive a notification email alerting them of an action item in the plan.
Tip
It is also possible to assign the insight or comment to multiple users if needed.
Occasionally, the category chosen for your insight may change later on, or you might have accidentally selected the wrong category. If this occurs, feel free to choose another without any issue.
Select an insight: Locate the desired insight for modification in the panel on the Right sidebar.
Choose a new category: Click on the
 Change type icon and choose a new categoy type. The box's border color will update to reflect the newly selected category type.
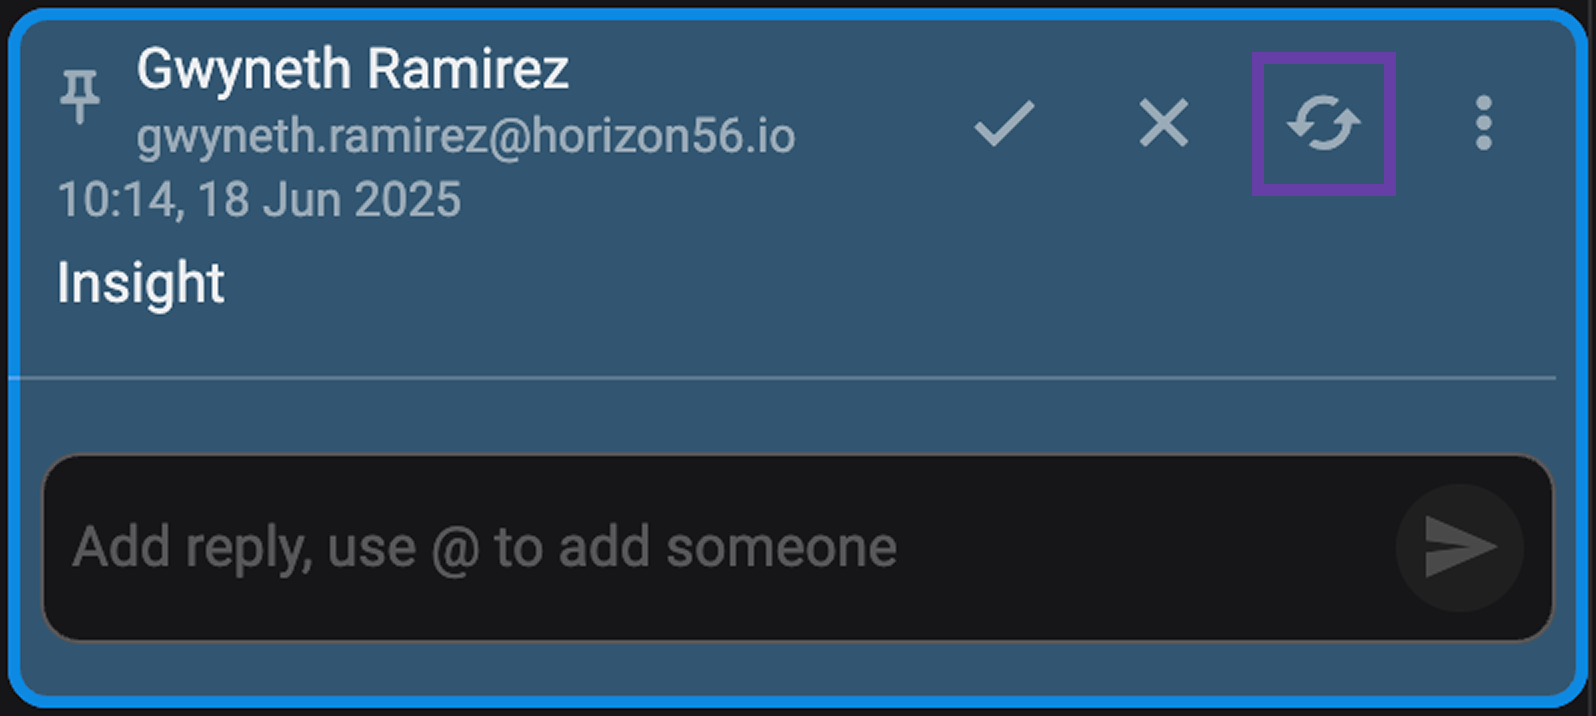
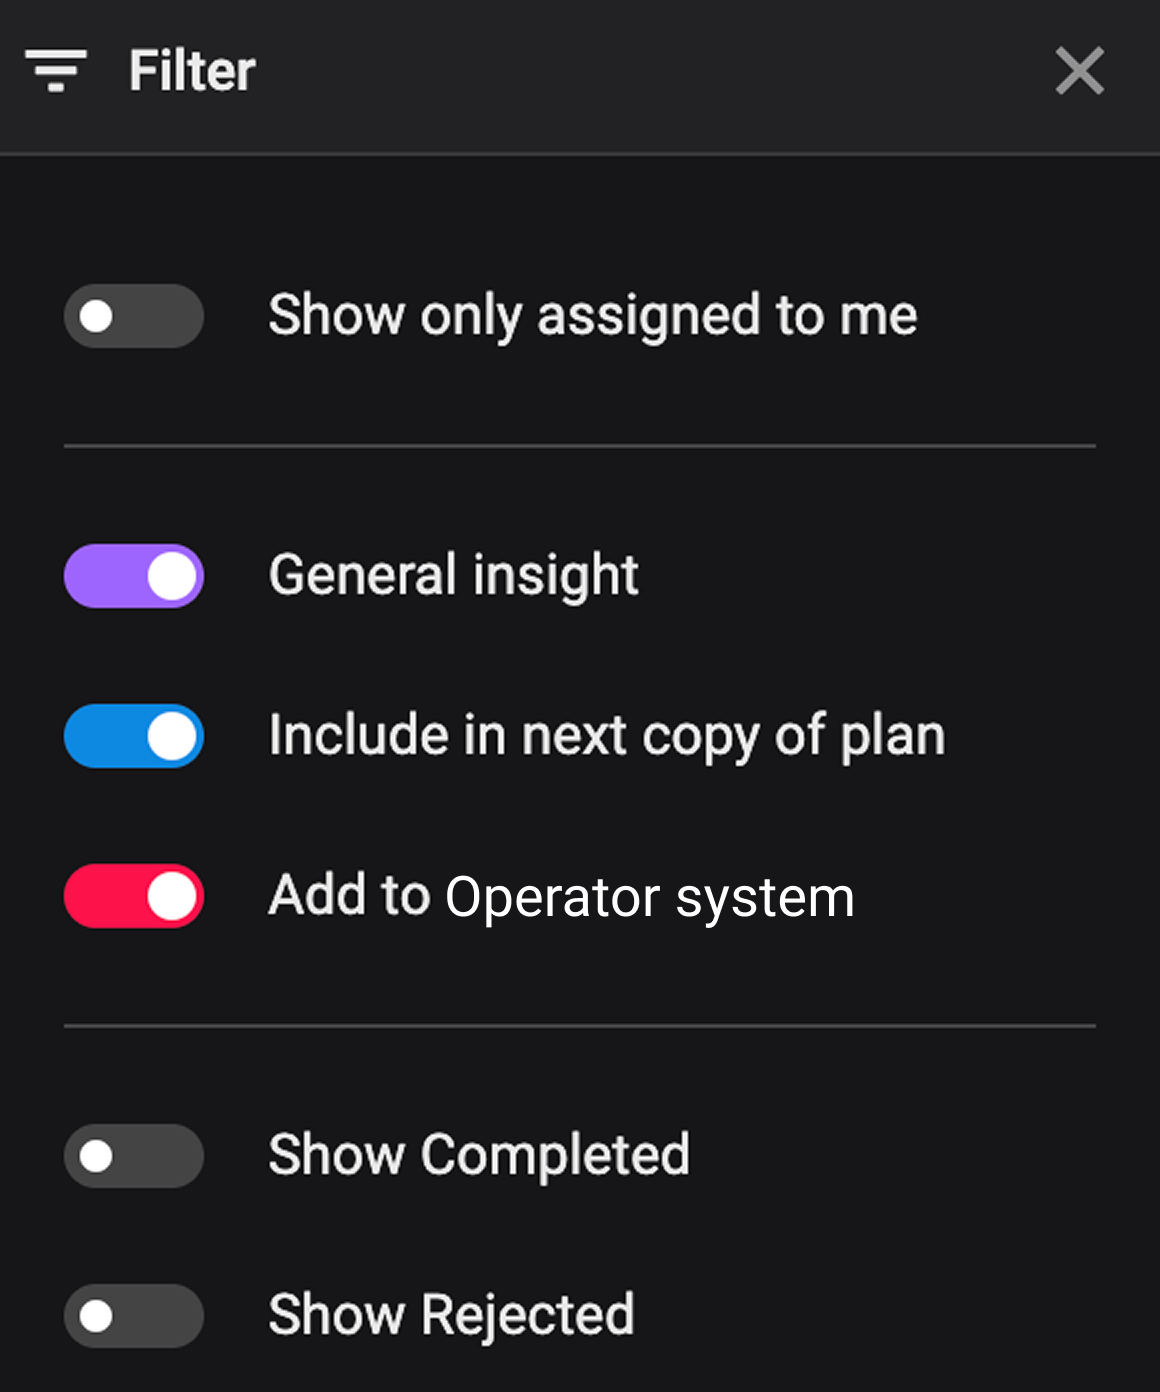
Use the filter option to manage numerous insights in a plan.
Open the Insights panel: Navigate to the Right sidebar, and click the
Insights icon to open its panel.Apply a filter: Click the
 Filter icon at the top of the panel. Use the toggles to filter insights based on your needs. You can filter by:
Insights assigned to you.
Category types.
Completed insights.
Rejected insights.
Sometimes, you find an insight crucial for future plans. This functionality is useful when you wish to copy the plan along with selected insights. During the After Actions Review (AAR), you can review each insight and determine whether you want to include it in a copied plan or not. This can be achieved by pinning an insight to the plan.
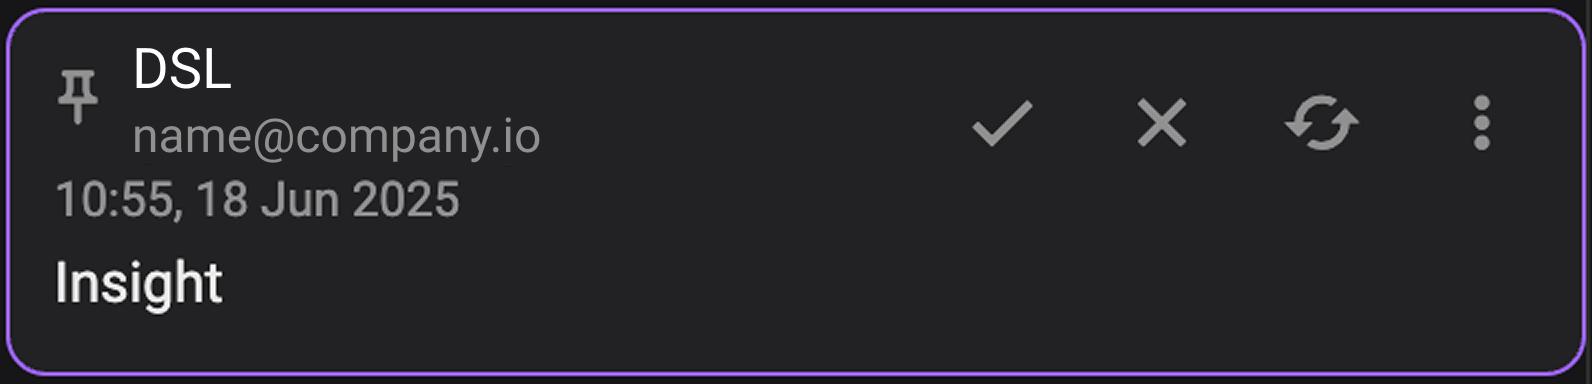
How to pin an insight
Select an insight: In the Right sidebar application, scroll to locate the insight you want to pin.
Open the options menu: Click the
 Options icon on the Insights card.
Pin the insight: Click on the
 Pin icon. The insight is now pinned and will carry over if the plan is copied.
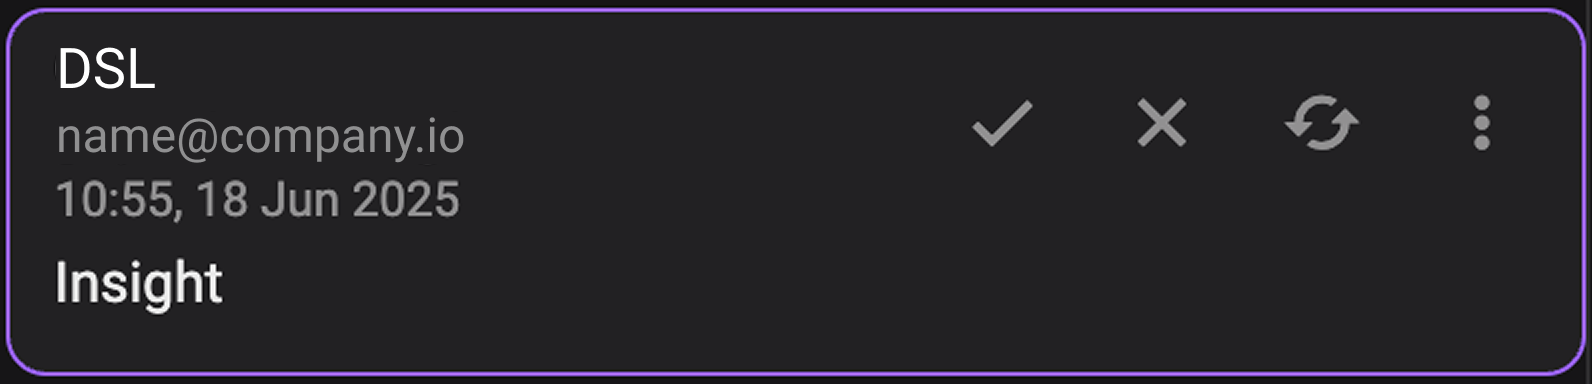
How to unpin an insight
Choose an insight: Locate the insight you wish to unpin within the Right sidebar.
Open the options menu: Select the
Options icon on the insight.Unpin the insight: Click on the
 Unpin icon. The insight has been unpinned and will NOT be available on the copied plan.
Occasionally, an insight may become irrelevant or unnecessary, in which case it can be removed from the plan and the After Action Review (AAR).
Select an insight: Locate the insight you wish to delete within the Right sidebar.
Open the options menu: Select the
Options icon on the insight.Delete the insight: Click on the
 Delete icon.
Upon clicking Delete, the insight will be permanently removed.
Warning
An insight can be deleted a specified number of hours after its creation. The duration before it becomes locked for deletion is determined by the RigBridge setup.